
Sometimes at the Endpaper Blog we get the unique opportunity to offer a platform to creative journallers from around the world. We’ve recently partnered with Quynh Vu – a multitalented artist and bullet journaller who specializes in brush lettering and modern calligraphy. You may remember Quynh from her Instagram account @caliquynhletters, where she has recently personalized some special journals for lucky contest winners, or her previous lettering tutorials here on the Endpaper Blog.
Today we’re excited to welcome Quynh to the Endpaper Blog to share her experience choosing the perfect planner for 2020. Join Quynh as she walks through the different features of Paperblanks planners and her tips for selecting the most useful one for you.
2020 Paperblanks Planner Review
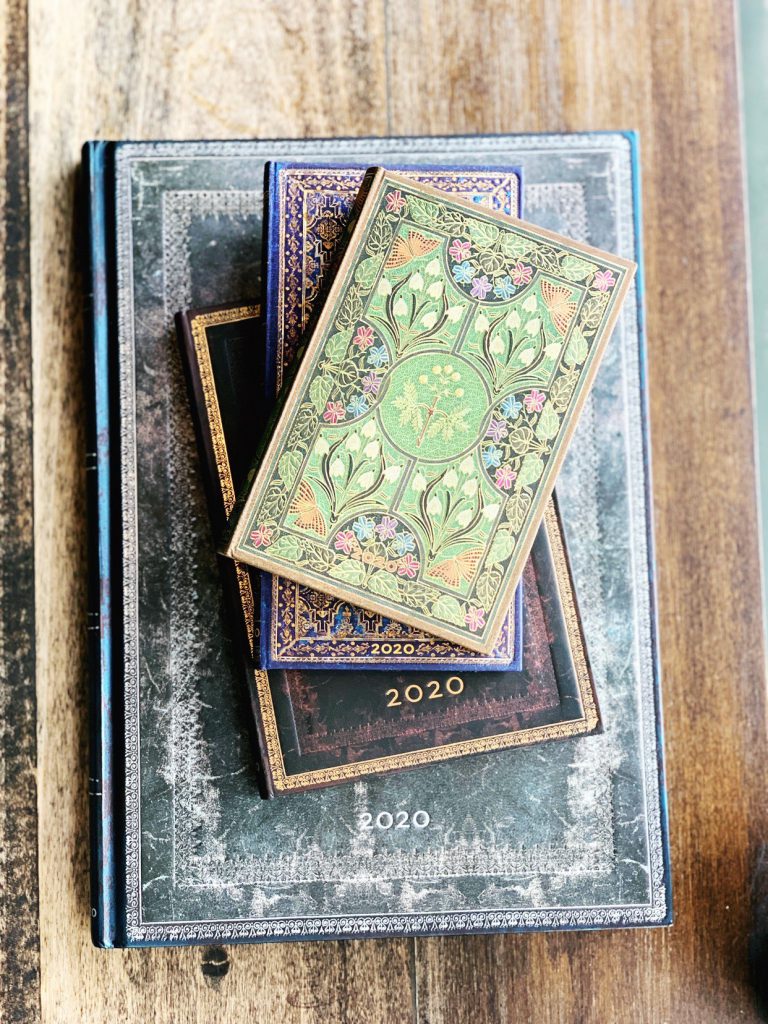
Pictured here: Midnight Steel ultra, Black Moroccan midi, Blue Rhine slim and Poetry in Bloom mini planners
It is getting close to the end of 2019 and as this year comes to a close, I cannot help but reflect on the fun memories and adventures that I have been lucky enough to experience. Reflection also makes me think of the upcoming year, 2020, and what I need to do to prepare for this big year. Before settling in and thinking about goals for next year, I first needed to make a very important decision regarding my own personal planner. I went to countless bookstores and stationery shops looking for the right 2020 planner for myself. I sincerely believe that picking a planner to document your thoughts, important dates, travel plans and goals is a very personal decision. This review will take you through my thought process and tell you how I narrowed down my selection to find a planner that meets my needs.
When looking through the 2020 Paperblanks planners, I narrow down my planner choice by determining which size makes the most sense for my lifestyle and planning personality. I currently work full time in the healthcare industry, while running a small family business in the evenings and on weekends. I also have young children who are currently involved in multiple activities several days of the week, and sometimes concurrently. In my spare time, I love to practice brush lettering, water coloring and journaling.
Planner Formats:
Daily versus weekly planner formats is the first decision I had to make. When determining which option I would pick, I had to ask myself if I would be using the planner to keep track of my appointments from a high level view or if I needed the details associated with a daily planner that has room to document activities and appointments in hourly increments.
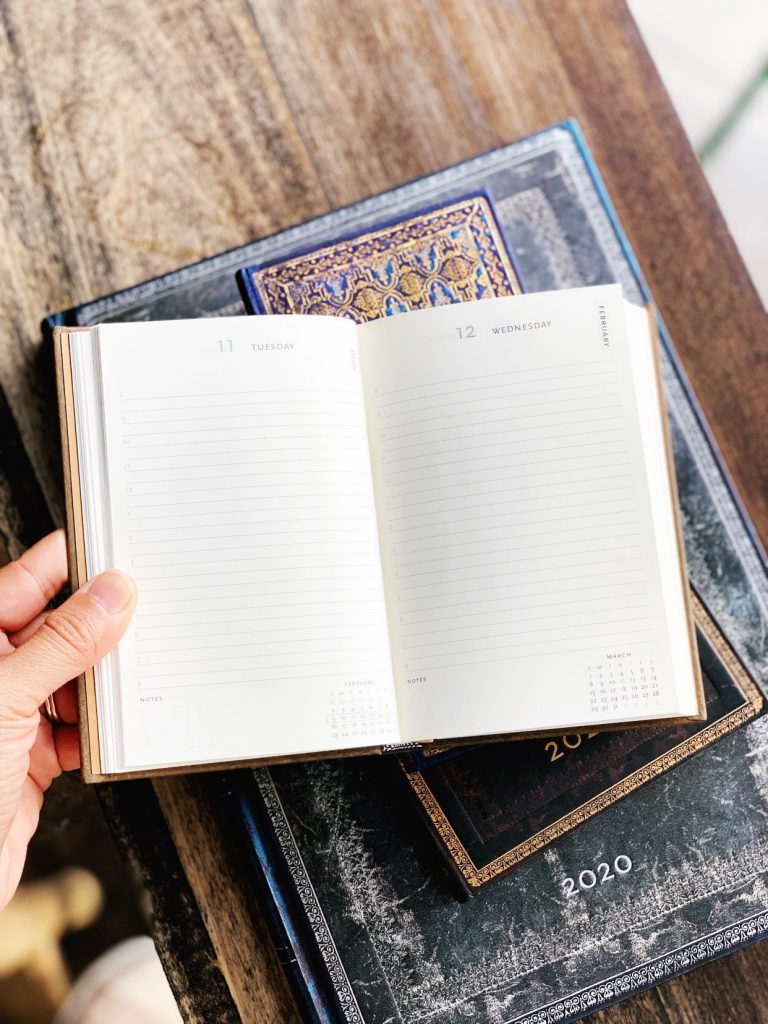
Pictured here: Day-at-a-time interior layout
A daily planner allows you to have more space to document where each hour of your day is allocated towards. It also allows you to quickly glance at your day and to see where the gaps are, so you can use those moments for planning and productivity that will get you to your goals.
Paperblanks day-at-a-time layout and vertical (week-at-a-time) layout offer you hourly segments to plan out your day. Day-at-a-time layout allocates 1 page per weekday so that you can focus your attention on the day ahead of you, while the week-at-a-time layout allows you to see the entire week over 2 pages when your planner is open. This option would provide you with a ground level and a bird’s eye view of what your week looks like to quickly assess your availability.
[Note from Paperblanks: We also offer a verso interior layout in select markets, with a weekly layout on the left-hand page and a note page on the right]
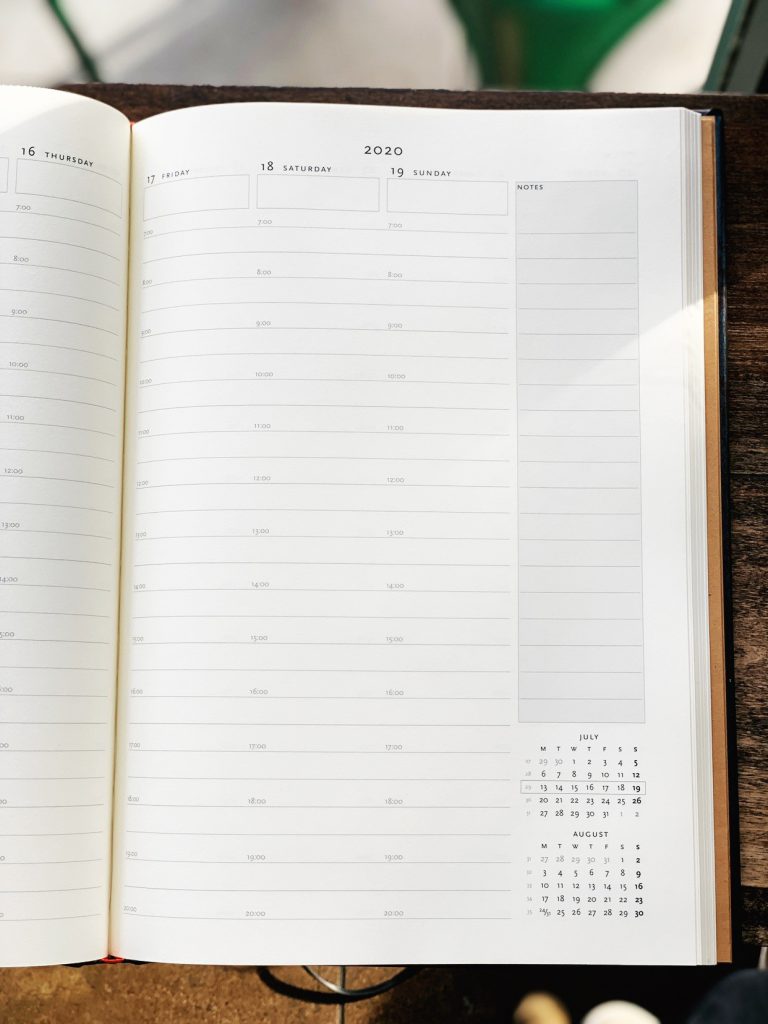
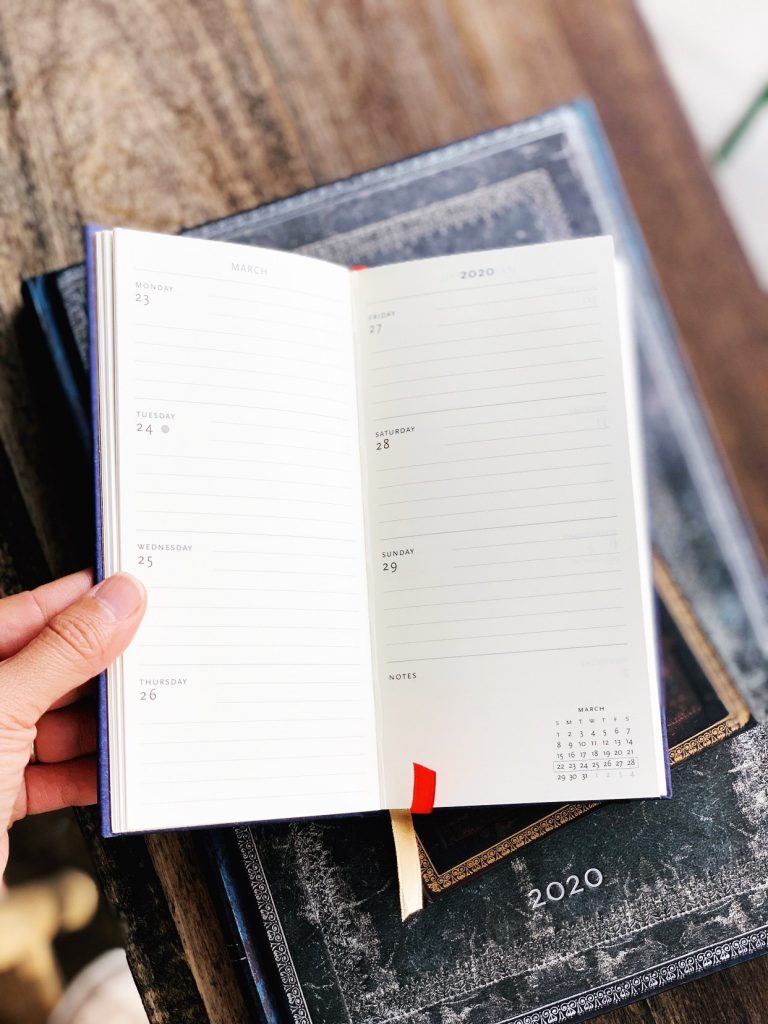
Pictured here: Vertical (week-at-a-time) interior layout
Horizontal week-at-a-time layout is a more concise manner of documenting general reminders for your day. This layout will give you a few lines to describe each day, but not a spot for each hour. This is helpful if you know that you would not need more space or details in your day to stay organized. It is also beneficial, because this layout will give you a thinner and lighter planner to carry around with you.
Pictured here: Horizontal (week-at-a-time) interior layout
Planner Size:
Six different sizes of planners means that there is an option that will complement your style and organizational needs. Grande, ultra, maxi, midi, mini and slim are the options available to accent your current planning lifestyle.

If you like to think big, and write big, and write down lots of thoughts and big ideas, the grande may be a good fit for you. The grande is the largest with a vertical (week-at-a-time) layout option. This size is perfect to see your entire week and day in hourly increments all in one glance. It gives you all the space that you need since each page is slightly larger than a standard sheet of letter size paper. If you want to leave your planner at your desk or home workstation this generous size will give you the space that you need to write and jot down thoughts as they come in throughout the day.
So maybe you want space to write and plan, but you are not wanting a planner that is bigger than your actual laptop that you are carrying around. The ultra size is slightly smaller than the grande but has plenty of space.
For those of you who are looking for more portable mid-size options, the maxi and midi size are more personal notebook sizes and would fit nicely in a laptop bag or small handbag for daily transport. This size range is what I typically gravitate towards since I feel like it allows me to have enough space for my personal content, with the portability that I need.
If you need an even more compact and condensed version, the mini and slim size are options to consider. The mini size in day-at-a-time layout will provide you with an entire page for each weekday to allow you to plan your day on an hourly basis. Because of the level of detail it provides, it is a little bit thicker. It still maintains its transportability in that it is only slightly bigger than the size of my small hand. The slim horizontal (week-at-a-time) layout is thinner, while giving you general space options to jot down events and to view your whole week all at once.
Planner Cover:
Now I needed to decide on what type of cover I wanted for my planner. Hardcover and Softcover Flexi options are available and to make this decision, I base it on how I want the notebook to feel when I hold it and open it. Personally I love the look and feel of hardcover. I love the durability and sophistication that is connected to it. The softcover Flexi actually looks so beautiful up close and its reinforced cover provides strength and flexibility when opening it.
Planner Cover Design:
Picking between these unique, artistically curated planner cover designs is definitely the hardest decision for me. I start by asking myself if I want a solid or patterned cover for 2020. Even the solid color planners will have a decorative trim along the cover borders for enhanced style. I wanted a solid color for this upcoming year. I narrowed down the color selection to bold, warm colors versus muted, subtle tones. I have a white desk and plan to take some photos of my planner and workspace throughout the year and found that I wanted something that would contrast well in photos. I also wanted a color that looks aged and vintage with subtle gold accents.
Final Selection:
After careful consideration and substantial thought, I narrowed down my 2020 Paperblanks planner selection to the Black Moroccan, hardcover, horizontal weekly midi size. This size will allow me to carry this journal safely in my handbag, to and from work, as well as to my many extracurricular activities for my kids. This planner will provide me with the style, durability and portability that I need to plan my life on the go.

New Planner Set Up:
There are so many useful sections in the 2020 Paperblanks planner that it is tough to decide where to begin my customization. I start my planner set up by first setting aside dedicated time to relax and enjoy this fun process. I will allocate several hours over the course of a few days to reflect on 2019 events and to plot out my 2020 goals. I will have personal, professional, family, financial and travel goals to map out. Once I am able to define my goals, I need to devote additional time to breaking my goals down to smaller, actionable steps and realistic timelines.
Each planner comes with a mini address and phone book that is stored in a convenient pocket located in the back cover. I will start by adding in just a few of my very important contacts in case I am somewhere, without my mobile phone handy.
Next, there is a birthday calendar section towards the back of the planner, where you can add in birthday reminders for close friends and family. I will fill that out first and then will also add those dates to the weekly portion of the planner as well so that I do not forget an important day.
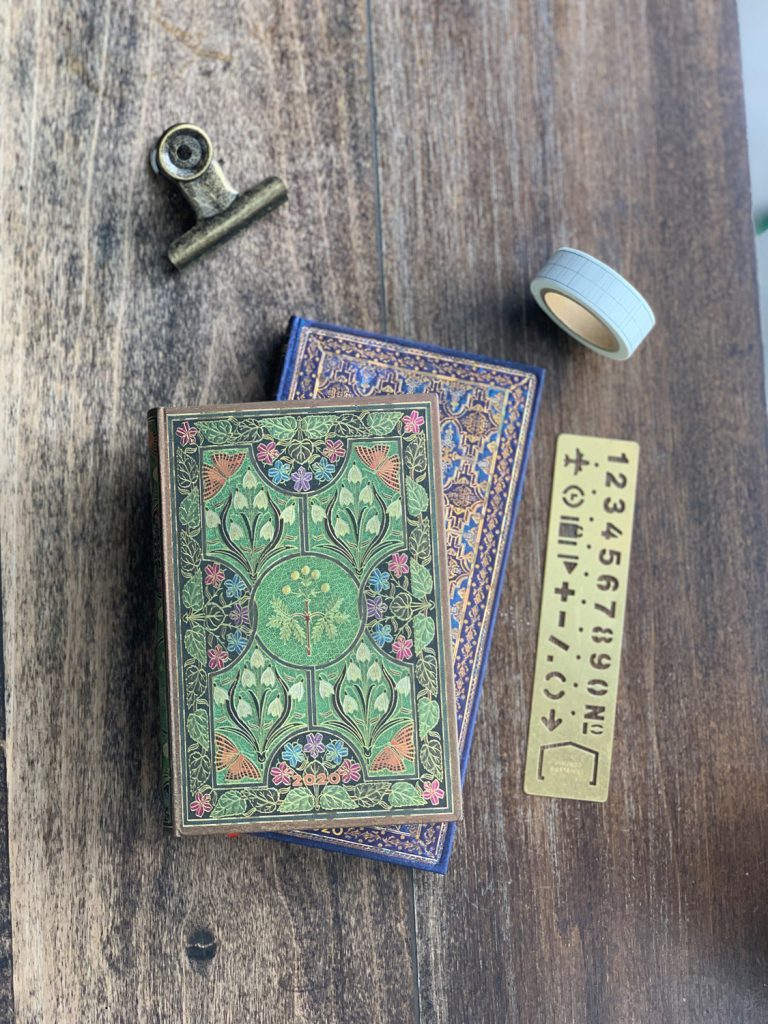
Above the birthday calendar, there is a section to allow you to plan out your travel in 2020. This is my favorite section, as I will write down places I hope to visit in the upcoming year. This is a reminder for me to make sure that I incorporate fun planning in addition to the productivity and goal planning that I typically lean towards. Rulers, stamps, pens, markers, washi tape, stencils and stickers are a few of the fun planner accessories that I will keep handy as I begin to personalize my 2020 planner to accurately represent my personal style. Stay tuned to see more posts related to my planner set up, since it will definitely occur in stages over the course of the next few weeks.
A Note from Quynh:
Thank you for visiting my Easy “Hello Fall” Bullet Journal tutorial blog. Please see the links below for a detailed process video and a timelapse of this process video.
Instagram: @caliquynhletters
YouTube: Quynh Vu
Send me an email at caliquynh@gmail.com so that you can be included in VIP email lettering and drawing tutorials that will be sent out each month.


